Showing posts with label Crochet. Show all posts

Wednesday, July 25, 2012

Girly Safari Animal Baby Hats: #1 Zebra (3-6mo)

This pattern was a ton of fun to write and I was so giddy with how it came out. I took it to show my older brother who happened to be in the middle of playing video games. Note that for most guys pink is pink, purple is purple and blue is blue etc... there is no light pink or dark pink, only PINK. So when he saw it I asked what he thought it was. Bad idea. Because it was all pink he instantly claimed it was a pig. That kind of burst my bubble of joy, so I went to see if he was the only one who didn't know what it was. (Because what's the point of a cute hat if no one can tell what it is) Since I have no sisters I went to see what my other brothers thought and questioned them. To my disheartening they all told me it was a pig... ugh! They didn't know how much I had already changed in the pattern to make sure it did not look like a pig. So as a last resort I asked my dad... please let there be someone in the house who does not say it is a pig. Alas my hopes were crushed and my adorable zebra hat was proclaimed a pig. When I informed him that it was indeed a zebra, he told me that it might be more recognizable if I had done it in the traditional black and white colors of a Zebra. Can’t a girl not have a fun, pink, whimsical zebra to wear on her head?

With uncertainty I wrapped it up with two other pink safari animal hats I had done (a monkey and a giraffe which I will post soon) and took it to a baby shower. The mother's face lit up as she saw the "zebra" hat. Finally someone recognized a zebra when they saw one. At least the person who it was for knew what it was and so did everyone else at the shower. The lesson I learned: don't ask my brothers to guess what I made... especially since now they joke about all the hats I make looking like pigs.
Please tell me this does not look like a pig.
Size: 3-6 months
Tools:
·         Crochet hook­ size I/9 (5.5mm) or size need to obtain gauge
·         Scissors
·         Yarn needle/darning needle

Supplies:
  • Hot pink  worsted weight yarn (CA)
  • Light pink worsted weight yarn (CB)
  • 2 matching Black/Dark Brown Buttons for eyes (optional… you can also crochet the eyes)
  • A small amount of black worsted weight yarn  (CC)
Gauge:
Rnds 1-4 of Base Hat = approx. 4.5inches in diameter

Instructions:
Base Hat
With CA
Make magic loop, ch 3
Rnd 1: dc 12 in loop, sl st in 1st dc
Rnd 2: ch 3, (dc in same st) twice, dc 2 in ea st around, sl st in 1st dc
With CB
Rnd 3: ch 3, dc in same st, dc 2 in nxt st, (dc 1, dc 2 in nxt st) repeat around, sl st in 1st dc
Rnd 4: ch 3, dc in same st, dc 1, dc 2 in nxt st, (dc 2, dc 2 in nxt st) repeat around, sl st in 1st dc
With CA
Rnd 5-6: ch 3, dc in same st, dc around, sl st in 1st dc,
With CB:
Rnd 7-8: ch 3, dc in same st, dc around, sl st in 1st dc,
With CA
Rnd 9-10: ch 3, dc in same st, dc around, sl st in 1st dc,
With CB:
Rnd 11-12: ch 3, dc in same st, dc around, sl st in 1st dc,
With CA
Rnd 13: ch 1, sc in same st, sc around, sl st in 1st sc, fasten off and weave in ends

With CA
Make a 2” pom-pom and sew to top of the hat, weave in ends

Ear (make 2)
With CB
Ch 7, turn
Rnd 1: dc in 3rd ch from hook, dc 2, sc 1, sc 3 in nxt st, turn so you are working on the bottom of the chs, sc 1, dc 2, dc 2 in nxt st, sl st in 1st dc
Rnd 2:  ch 2, dc 2 in same st, hdc 2, sc 2 in nxt st, sc 3 in nxt st, sc 2, hdc 2, dc 2 in nxt st, dc 3in nxt st, sl st in 1st dc,
With CA
Rnd 3: ch 1, sc in same st, sc around, sl st in 1st sc, fasten off and weave in tails
Sew on at the top of the hat tucking the point under the base of the pom-pom

Muzzle
With CA
Ch 10,
Rnd 1: dc in 3rd ch from hook, dc 6, dc 3 in nxt st, turn so that you are working on the bottom of the chs, dc 6, dc 2 in nxt st, sl st in 1st dc,
Rnd 2: ch 3, dc 2 in same st, dc 6, dc 2 in nxt st, dc 3 in nxt st, dc 2 in nxt st, dc 6, dc 2 in nxt st, dc 3 in nxt st, sl st in 1st dc,
Rnd 3: ch 1, sc 2 in same st, sc 2 in nxt st, sc 6, (sc 2 in nxt st) twice, sc 1, sc 2 in nxt st, sc 1, (sc 2 in nxt st) twice, sc 1, sc 2 in nxt st, sl st in 1st sc, fasten off leaving a tail for sewing, sew on
With CB embroider two “x” to represent nostrils

Eyes (make 2)
With CC
Make magic loop, ch
Rnd 1: sc 6 in loop, sl st in 1st sc, fasten off leaving a tail for sewing, sew on, weave in ends
OR
With CC to sew on buttons for eyes

If you would like instructions for making a pom-pom or more detailed directions for the rest of the patterns, please feel free to comment and please tell me the finished product does not look like a pig. Also please let me if you find any errors as this pattern has not officially been tested.

Saturday, July 21, 2012

Basic Striped Baby Hat (3-6mo)

So now that I've posted how to change colors (here) and I don't feel like I have to include that information in every pattern, I will show how I used that technique in my basic striped baby hat pattern. (Note: all color changes are done with the method above)

Size: 3-6 months
Tools:
  • Crochet hook size I/9 (5.5mm) or size need to obtain gauge
  • Scissors
  • Yarn needle/darning needle
Supplies:
  • Hot pink  worsted weight yarn (mc)
  • Light pink worsted weight yarn (cc)
Gauge:
Rnds 1-4 of Base Hat = approx. 4.5inches in diameter

Instructions:
Base Hat
With mc
Make magic loop, ch 3 (if you would like to avoid the magic loop just replace it with an extra ch & dc in it instead of the loop in rnd 1)
Rnd 1: dc 12 in loop, sl st in 1st dc
Rnd 2: ch 3, (dc in same st) twice, dc 2 in ea st around, sl st in 1st dc
With cc
Rnd 3: ch 3, dc in same st, dc 2 in nxt st, (dc 1, dc 2 in nxt st) repeat around, sl st in 1st dc
Rnd 4: ch 3, dc in same st, dc 1, dc 2 in nxt st, (dc 2, dc 2 in nxt st) repeat around, sl st in 1st dc
With mc
Rnd 5-6: ch 3, dc in same st, dc around, sl st in 1st dc,
With cc:
Rnd 7-8: ch 3, dc in same st, dc around, sl st in 1st dc,
With mc
Rnd 9-10: ch 3, dc in same st, dc around, sl st in 1st dc,
With cc:
Rnd 11-12: ch 3, dc in same st, dc around, sl st in 1st dc,
With mc
Rnd 13: ch 1, sc in same st, sc around, sl st in 1st sc, fasten off and weave in ends

With mc
Make a 2” pom-pom and sew to top of the hat, weave in ends

If you would like instructions for making a pom-pom or more detailed directions for the rest of the patterns, please don't hesitate to comment. Also please let me if you find any errors as this pattern has not officially been tested.

Wednesday, July 18, 2012

How to Change Colors while crocheting (No weaving in ends & no cutting yarn!)

Early on in my crocheting "career" I was intimidated by projects that required multiple color changes since I was never taught how to properly incorporate different yarns. At that point, every time I need to change colors I would fasten off and start with the new color. This was very tedious as it left many tails to be woven in and if the color changes were frequent it made it impossible to crochet without a pair of scissors nearby. It also caused the fabric to pull apart a little. I avoided multicolor projects like the plague. In my own patterns if I wanted several colors I would take all the strands of yarn (usually two or three) that I wanted and crochet them all at once as if they were one strand. That was okay, but for some projects it would have been better if I had changed the colors since multiple strands made the finished project quite bulky.

After a few years of that I finally went to YouTube. (I don't know why I waited so long.) There I found several videos depicting the same technique, which is now the method I always use. So I proud to present my first photo tutorial demonstrating my favorite method for changing colors:
half way through a dc (two loops left on hook)
Stop half way through the last st (#loops left on hook sc=2 hdc=3 dc=2, tr=2 sl st=go back to middle of previous st, cluster=right before last yo & pull through)
 yo with new yarn still holding previous color,
Pull through all loops on hook
Continue crocheting for a few st while holding the first color on top of the st you are working in, then chrochet normally, if you are working in the round and joining then you will switch colors just before the sl st,
If you are going  to be changing colors frequently in the same spot in the pattern then only crochet over the first color with the joining sl st,
Changing Colors Every Other Rnd, E.g. Rnd 1-2 CA Rnd 3-4 CB
To carry the yarn up to the nxt rnd without changing colors sl st over the strand when you join at the end of each rnd
Carrying the yarn up to the nxt rnd
When you're all finish the wrong side of your work should look like this:
I hope this was helpful. If anyone needs clarification, find any typos or would like a video tutorial please comment. Also if anyone has projects that they have used this technique on or has another technique I would love to see them. In case anyone is wondering the project used in this tutorial is the Basic Striped Baby Beanie which I will be posting soon :)

Wednesday, July 11, 2012

Lady Bug Baby Hat

Lately I've been a having a blast making little baby hats. Since they're so quick and easy I can usually finish one each morning. Most of them only take two to four hours (depending on how complex it is). When I realized how similar a lot of the patterns are I began making a plethora of designs, which means that I will be posting more baby hat patterns soon. Many of them are still only drafts so please be patient :)
I am so pleased with how this pattern came out, it can be as simple or as complex as you like it since there are a few different options in ear flap ties and edges. So far I only have it in the two sizes, but I plan to write the larger patterns later. If anyone is anxious for a bigger size please comment.

Also at this point this pattern has only been tested by me, so if you find any errors please let me know. If you complete this patten I give you credit for testing.
Size: 0-3 months
Tools:
  • Crochet hook size F/5 (3.75mm) or size need to obtain gauge
  • Scissors
  • Yarn needle/darning needle
Supplies:
  • Red worsted weight yarn
  • Black worsted weight yarn

Gauge:
Rnds 1-4 of Base Hat = approx. 3.5inches in diameter

Instructions:
Base Hat
Using red worsted weight yarn
Make a magic loop, ch 2
OR
Ch 3
Rnd 1: Dc 12 in loop or 3th ch from hook, sl st in 1st dc, (12 st)
Rnd 2: Ch 2, dc 2 in same st, dc 2 in ea st, sl st in 1st dc, (24 st)
Rnd 3: Ch 2, dc in same st, dc 2 in nxt st, (dc 1, dc 2 in nxt st) around, sl st in 1st dc, (36 st)
Rnd 4: Ch 2, dc in same st, dc 1, dc 2 in nxt st, (dc 2, dc 2 in nxt st) around, sl st in 1st dc, (48 st)
Rnd 5-10: Ch 2, dc in same st, dc around, sl st in 1st dc, switch to black in last dc of rnd 10, (48 st)
Don’t fasten off just continue into the first ear flap with the black worsted weight yarn

Ear Flap
Row 11: Ch 2, dc in same st, dc 5, turn, (6 st)
Row 12: Ch 2, dc2tog 3 times, turn, (3 st)
Row 13: Ch 2, dc3tog, turn, (1 st)
Row 14: Don’t ch, sl st in nxt st, ch 35, fasten off, leaving a tail about 2ft long to make a tassel,

Edging (Choose One)

Mini Scallop Edge
Rnd 11: sl st in any dc with black yarn, ch 1, sc in each st and on the edges of the ear flaps, sl st in 1st sc,
Rnd 12: ch 1 (sc, ch 3, sl st) in each st around but around the ear flaps sc in each st, sl st in 1st sc

OR

Basic Edge
Rnd 11: sl st in any dc with black yarn, ch 1, sc in each st and on the edges of the ear flaps, sl st in 1st sc,

Ties (Choose One)

Tassel Ties
Join Black yarn to top of ear flap, sc in same st, ch 35, fasten off leaving a long tail for making a tassel, (thread ending tail in last ch loosly so that you get a loop on the end of the ch) 4 times making sure all the loops are the same length. Tie the ending thread around the last so that the loops don’t slip if you gently pull on them. Cut the loops like you would if you were making a pom-pom.
Repeat on other ear flap

OR

Curly Ties
Join black yarn to top of ear flap, sc in same st, ch 47, turn
Row 1: sc in 2nd ch from hook, (sc2tog) 15 times, sc 16, sl st in top of ear flap, fasten off, weave in ends
Repeat on other ear flap


Head
Ch 3
Row 1: dc 6 in 3rd ch form hook, turn
Row 2: ch 2, dc 2 in each st, turn
Row 3: ch 2, (dc 1, dc 2 in nxt st) across, fasten off leaving a long tail for sewing, sew on to base hat centering it between the 2 ear flaps
Embroider antenna above head using ch st
Spots (make 6)
Make magic loop, ch 2  OR  Ch 3
Rnd 1: dc 12 in loop OR 3rd ch from hook, sl st in 1st dc, fasten off leaving a tail for sewing

Size: 3-6 months
Tools:
  • Crochet hook size H/8 (5mm) or size need to obtain gauge
  • Scissors
  • Yarn needle/darning needle
Supplies: 
  • Red worsted weight yarn
  • Black worsted weight yarn

Gauge:
Rnds 1-4 of Base Hat = approx. 4.5inches in diameter

Instructions:
Base Hat
Using red worsted weight yarn
Make a magic loop, ch 2
OR
Ch 3
Rnd 1: Dc 12 in loop or 3th ch from hook, sl st in 1st dc, (12 st)
Rnd 2: Ch 2, dc 2 in same st, dc 2 in ea st, sl st in 1st dc, (24 st)
Rnd 3: Ch 2, dc in same st, dc 2 in nxt st, (dc 1, dc 2 in nxt st) around, sl st in 1st dc, (36 st)
Rnd 4: Ch 2, dc in same st, dc 1, dc 2 in nxt st, (dc 2, dc 2 in nxt st) around, sl st in 1st dc, (48 st)
Rnd 5-10: Ch 2, dc in same st, dc around, sl st in 1st dc, switch to black in last dc of rnd 10, (48 st)
Don’t fasten off just continue into the first ear flap with the black worsted weight yarn

Ear Flap
Row 11: Ch 2, dc in same st, dc 5, turn, (6 st)
Row 12: Ch 2, dc2tog 3 times, turn, (3 st)
Row 13: Ch 2, dc3tog, turn, (1 st)
Row 14: Don’t ch, sl st in nxt st, ch 35, fasten off, leaving a tail about 2ft long to make a tassel,

Edging (Choose One)

Mini Scallop Edge
Rnd 11: sl st in any dc with black yarn, ch 1, sc in each st and on the edges of the ear flaps, sl st in 1st sc,

OR

Rnd 12: ch 1 (sc, ch 3, sl st) in each st around but around the ear flaps sc in each st, sl st in 1st sc
Basic Edge
Rnd 11: sl st in any dc with black yarn, ch 1, sc in each st and on the edges of the ear flaps, sl st in 1st sc,

 Ties (Choose One)

Tassel Ties
Join Black yarn to top of ear flap, sc in same st, ch 35, fasten off leaving a long tail for making a tassel, (thread ending tail in last ch loosly so that you get a loop on the end of the ch) 4 times making sure all the loops are the same length. Tie the ending thread around the last so that the loops don’t slip if you gently pull on them. Cut the loops like you would if you were making a pom-pom.
Repeat on other ear flap

OR

Curly Ties
Join black yarn to top of ear flap, sc in same st, ch 47, turn
Row 1: sc in 2nd ch from hook, (sc2tog) 15 times, sc 16, sl st in top of ear flap, fasten off, weave in ends
Repeat on other ear flap

Head
Ch 3
Row 1: dc 6 in 3rd ch form hook, turn
Row 2: ch 2, dc 2 in each st, turn
Row 3: ch 2, (dc 1, dc 2 in nxt st) across, fasten off leaving a long tail for sewing, sew on to base hat centering it between the 2 ear flaps
Embroider antenna above head using ch st
Spots (make 6)
Make magic loop, ch 2  OR  Ch 3
Rnd 1: dc 12 in loop OR 3rd ch from hook, sl st in 1st dc, fasten off leaving a tail for sewing


Thursday, March 15, 2012

Ravelry Pattern Hodgepodge Butterfly Afghan

   When I heard that my cousin and his wife were going to decorate their nursery with butterflies I began "favorite-ing" oodles of butterfly patterns on Ravelry... I LOVE butterflies, and I wish more parents would use them in their daughter's nursery theme.
     When I first saw the pattern for this afghan (which is made up of squares) I knew that it would be perfect (granted I would do some tweaking). I decided to only make 25 square (instead of the 35 the pattern called for...16 of square #1 and 9 of square #2)) since the time before the baby shower was running out.
     I also used a different butterfly pattern because I couldn't get the one from the afghan pattern to lay flat.
     After I saw this edging the scallops would not do. Somehow I couldn't get the butterfly edging to look right (so either I was doing something wrong or there was a slight error in the pattern) so I edited so that it reads as follows:

dc cluster = ch 3, yo, insert, draw up, yo, draw through 2, yo, insert in same st, draw up, yo, draw through 2, yo draw through all,

Tr cluster = ch 3, (yo 2, insert in same st, draw up, yo, draw through 2, yo, draw through 2) 3 times, yo draw through all, ch 4, sl st in same st

Antenna st = ch 5 tightly, ch 1 loosely (later you will cut this ch), ch 5 tightly, sl st in same st,

Butterfly= dc cluster, ch 1, tr cluster in last ch, antenna st in same st, ch 1, tr cluster in same st, dc cluster in the same st, sk 4 st in round 1 and sl st in 4th st

Notes: In between each of the butterflies you sc 10... Of course I had to tweak this too, instead leaving it basic I repeated this in between the butterflies:
(sl st, ch 2, sc in same st, sc 1)
 I guess I can't be perfectly happy with anything because after the first couple of squares I changed the pattern so that I would finish the first corner at the beginning of the round instead of doing half at the beginning and the other half at the end, which caused the corner to stretch out and look uneven. (like the upper left corner of the square above)
I even sewed the squares together differently than the usual whip stitch. Instead I used the flat braid join method that I found here and I used the tips from here.

Monday, March 12, 2012

One Day, One Skein Scarfs

A while back I started crocheting these one day one skein scarves...nothing elaborate just an opportunity to use up some variegated yarn. Somehow I'm always behind the seasons, I began making this scarf in early December... just as fall was coming to an end.
For the first three here I used Red Heart Super Saver Yarn (The one with 244yds on it.)
To begin ch 17-20 (whatever you feel like)
Row 1: dc in 3rd ch from hook, dc across
The rest of the rows: ch 2, dc across
Fasten off at the end of a row when you have 12-16yds of yarn left, depending on you long you want the fringe. If you don't want a fringe just work until don't have enough yarn to complete a row.
On this one I used scs instead of dcs and I forgot to save yarn for the fringe so I've been trying to find a solid yarn that will match one of the colors of blue. Blues are so hard to match.
For these last two I used Lion Brand Holiday Homespun which has a gold thread twisted into it, and  Lion Brand Homespun yarn.
One thing I particularly like about the variegated Homespun yarn is how gradually the color changes.

Friday, March 9, 2012

Crazy Sock Earrings

A couple years back, when the annual "crazy sock night" at the local Awana club was coming up, I decided that I should whip up a pair of crochet sock earrings.
Unfortunately, I did not write down the pattern for the shaping, but for the texture I crocheted in the back loops only.
Making them into earrings was simple. I just opened the eye of the earring piece and put it through the corner of the sock.

Tuesday, March 6, 2012

Inline Crochet Hooks

For the longest time I was unaware of the differences in crochet hooks, the only thing I really cared about was whether it was medal/aluminum or plastic... And even then I'm not sure I payed that much attention. But when I started making the fleece blankets with crochet edge I noticed that the inline hooks  were easier to push through the slits in the fleece. Of course at the time I did not know the different names. Since doing the fleece blankets, I've found that the inline hooks make working with "fluffy"/"fuzzy" (such as Red Heart Baby Clouds) yarn a lot easier. The inline hooks also eliminates part of the "twist" required to keep the yarn on the hook when you pull it through other loops.
      Inline     Out of line
Sorry the pictures are a little blurry, it is hard to get clear images of shiny objects.

Wednesday, February 29, 2012

Crochet Butterfly Appliqué

So after trying (and failing) a few different butterfly patterns, which were too small, had two sets of wings or wouldn't lay flat, I finally wrote my own pattern. The pattern I wrote uses a very similar technique to this pattern which was too small. (Note: the original pattern is on Ravelry so if you're not a member you may not be able to access it)
Here is the pattern I wrote:
Using an I/9 (5.5mm) crochet hook and worsted weight yarn
Make magic loop, chain 3,
Rnd 1: Dc 12 in loop, close magic loop, Do Not join, ch 3, turn, (12st)
Rnd 2: Dc 2 in each dc, Do Not join, ch 3, turn, (24st)
Rnd 3: (dc 2 in nxt st, dc 1) 12 times, Do Not join, turn, (36st)
Rnd 4: *sk 4 st, dtr 9 in nxt st, sk 4 st, sl st,* (sk 3 st, dc 9 in nxt st, sk 3 st, sl st,) twice, repeat once from * to *, tie off, (if you leave this tail long you can use it sew the butterfly on)

Antenna: Sl st in 2nd sl st of rnd 4, ch 3, sl st around 12th dc of rnd 2, ch 3, sl st in  magic loop, ch 9 very tight, ch 1 very loose, ch 9 very tight, sl st in magic loop, tie off, weave in ends, cut the loose ch, pull out short threads, pull others tight and cut them to be the same length.

Sunday, February 26, 2012

Crochet Puppet Scarf

One day while causally browsing Ravelry's free crochet pattern data base, I ran across this adorable scarf which had puppets on the end. It was such a fun idea I instantly added it to my favorites and tried to think of someone to make it for. Eventually I thought of a little four year old girl who loves puppies (what four year old doesn't?) and rainbows. Since the original pattern didn't have dog puppets I had to tweak the ears and the nose a little to make them look like puppies. I also decided to add wiggle eyes instead of the crocheted eyes the pattern dictated.
 For the nose I just omitted round 29, and for the ears I wrote a new pattern:
ch 6 (leave a tail long enough to sew with)
Row 1: Dc in 3rd ch from hook, dc 3, ch 2, turn,
Row 2: dc 2 in next st, dc 2, dc 2 in next st, ch 2, turn
Row 3: dc 2 in next st, dc 1, (dc 2 in next st) twice, dc 1, dc 2 in next st, ch 2, turn,
Row 4: (Dc2tog) twice, dc 2, (dc2tog) twice, ch 2, turn,
Row 5: (dc2tog) 3 times, turn
Row 6: sk 1st st, hdc 3 in next st, sl st in next st, tie off. weave in this end only and use the other end to attach it to the puppet
I think overall after all my changes it turned out pretty cute. :)

Thursday, February 23, 2012

Granny Square Bag

Here is a really simple idea that I found a while back...
 Just take three granny squares that are the same size...
 Fold them in half diagonally, sew the edges together (as shown below) and add a handle to make a bag! I'm sure you could use blocks other than granny squares to get a unique designs. For my squares I decided to change colors every two rounds...
You can also use an extra square to make a flap as shown  here (the place I originally found the pattern)

Monday, February 20, 2012

Crochet Puppy Dog Package

Spring is supposed to be coming and now it seems as though there is a baby shower every weekend...well I guess that means my crochet schedule will be packed with hats and booties for the little ones. I think it's time for some variety, so here comes my puppy dog package.
 Even though I did not use the yarn the pattern called for I still think it looks cozy.
 The cute, matching gift bag and tag are contributions of  Spare Thyme Ink.

Friday, February 17, 2012

Shells and Flowers hat

This is the pattern that really got me going on baby hats, and to write my baby football beanie pattern. I love the shells and the incorporated flowers. Unfortunately I ran out of yarn and had to omit/change the last few rounds. You can find the pattern here but I'm not sure if you'll be able to link to it if you don't have an account on ravelry.
Once again I made a matching fleece blanket with a crocheted edge.

Tuesday, February 14, 2012

Mi Ami Ami Dogs

   Okay the title to this post is somewhat misleading...these are not "my" amigurumi dog patterns, but I did follow the pattern to make these adorable dogs. For a Christmas gift I was given two books written by Mitsuki Hoshi Ami Ami Dogs and its sequel, Ami Ami Dogs 2.
 Mi Ami Ami Husky
 
Mi Ami Ami Labrador
 Mi Ami Ami Dogs Birthday Party
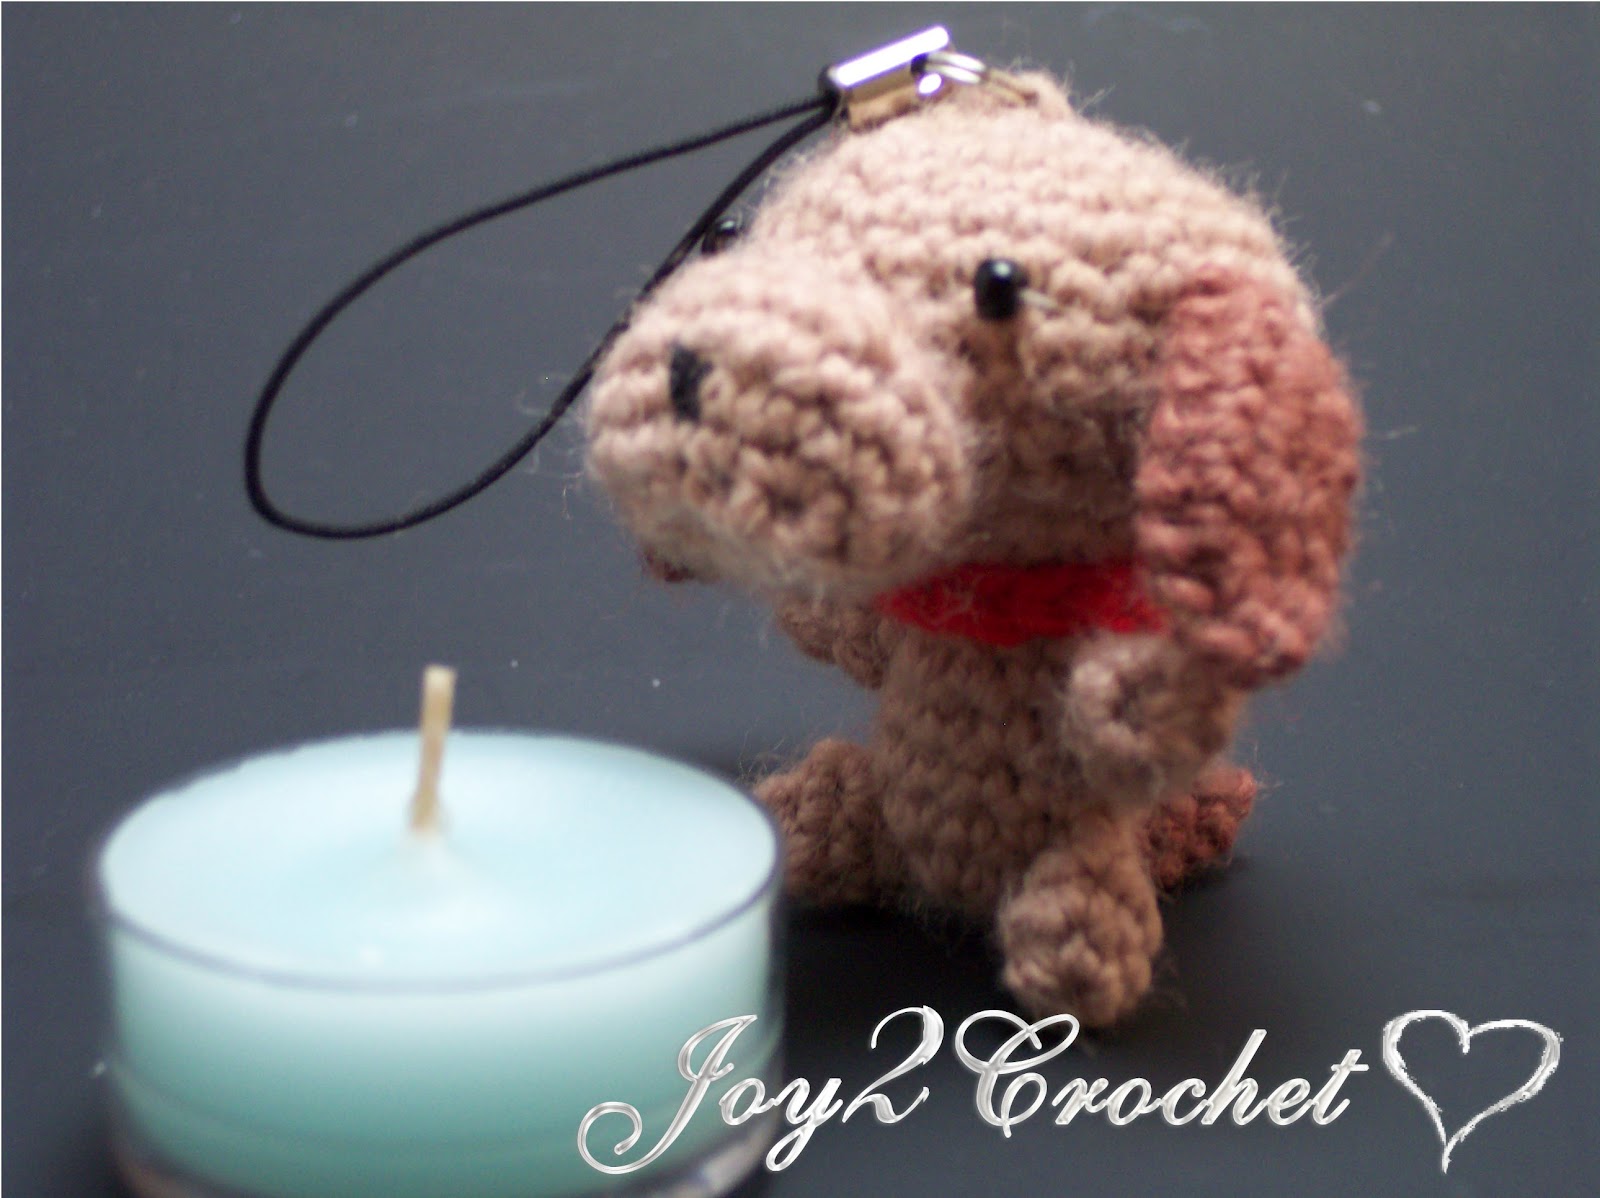
And last but not least Mi Ami Ami Cell Phone Charm.